
Bside EMT01
Bside EMT01 Digital Wood Moisture Meter User Manual
Model: EMT01
1. Introducere
This manual provides detailed instructions for the operation and maintenance of your Bside EMT01 Digital Wood Moisture Meter. This instrument is designed to accurately measure the moisture content in various wood materials, providing essential data for drying processes and quality control. Please read this manual thoroughly before using the device to ensure proper and safe operation.
2. Informații de siguranță
- Keep the device out of reach of children. The measurement probes are sharp and can cause injury.
- Do not attempt to measure live electrical circuits with this device. It is designed for wood moisture measurement only.
- Evitați expunerea contorului la temperaturi extreme, umiditate ridicată sau lumina directă a soarelui.
- Nu scufundați dispozitivul în apă sau alte lichide.
- If the device is damaged, do not use it. Contact customer support for assistance.
- Scoateți bateria dacă dispozitivul nu va fi utilizat pentru o perioadă lungă de timp, pentru a preveni scurgerile.
3. Conținutul pachetului
Vă rugăm să verificați conținutul coletului la primire. Dacă lipsesc sau sunt deteriorate articolele, contactați distribuitorul.
- 1 x Bside EMT01 Digital Wood Moisture Meter
- 1 x Manual de utilizare (acest document)
4. Produs terminatview
The Bside EMT01 features a clear LCD display, two sharp measurement pins, and intuitive buttons for mode selection and data hold. A protective cap covers the pins when not in use.
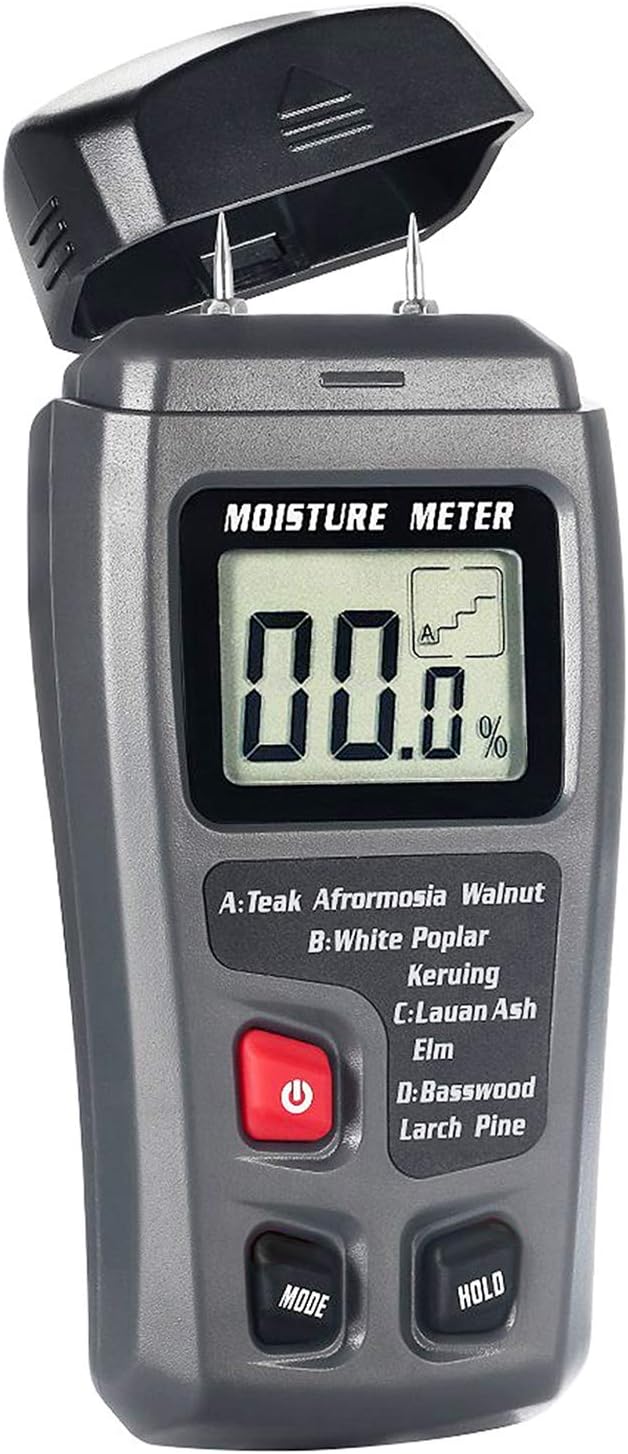
Figura 1: Faţă view of the Bside EMT01 Digital Wood Moisture Meter with the protective cap removed, showing the LCD display, measurement pins, and control buttons.
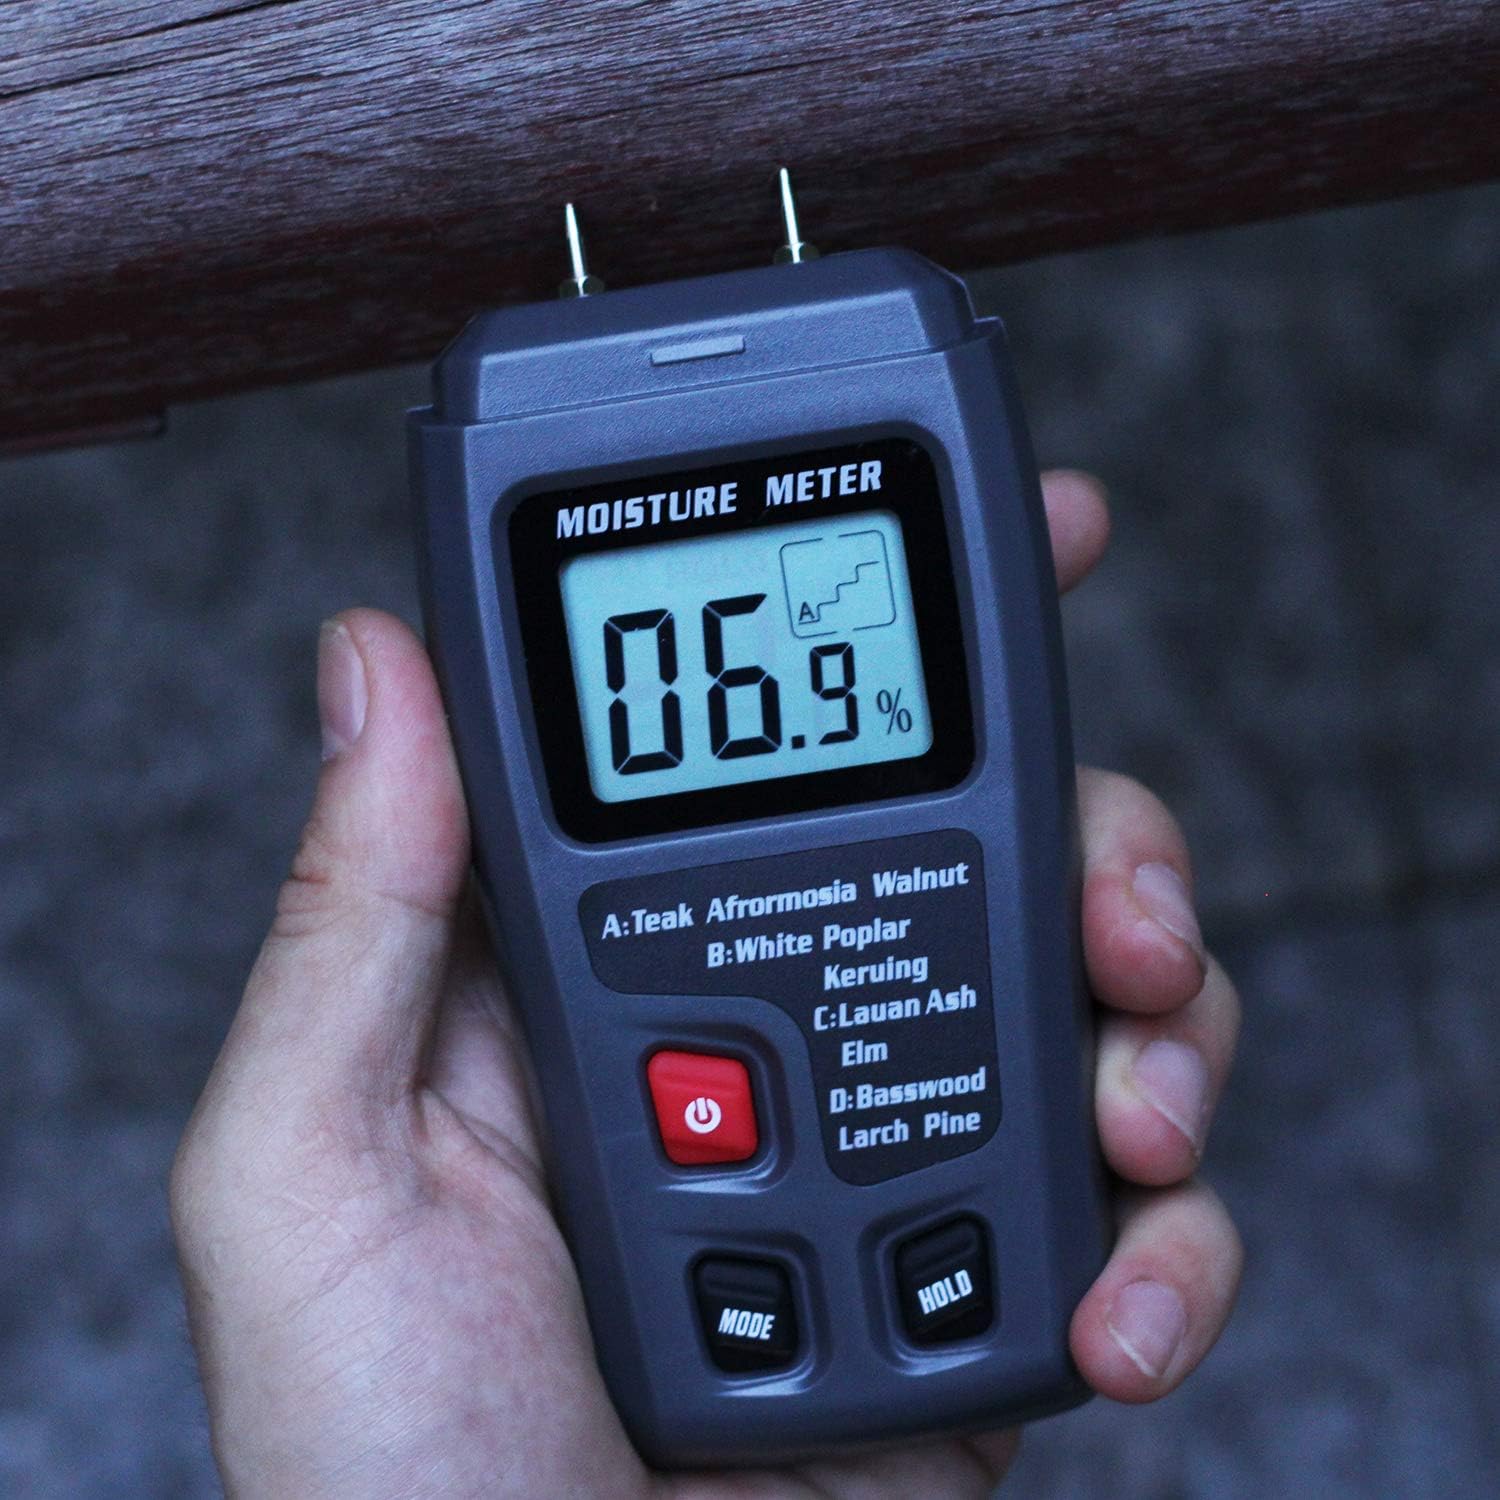
Figura 2: The Bside EMT01 Digital Wood Moisture Meter held in a hand, illustrating its ergonomic design and portability.
4.1. Componente
- Measurement Pins: Two sharp pins for penetrating wood surfaces to measure moisture.
- Capac protector: Covers the measurement pins when the device is not in use.
- Display LCD: Shows moisture content percentage and selected wood group.
- Butonul de pornire (⏻): Pornește și oprește dispozitivul.
- Butonul MOD: Selects the appropriate wood calibration scale (A, B, C, D).
- Țineți butonul apasat: Îngheață măsurătoarea curentă pe afișaj.
5. Specificații
| Material | ABS |
| Afişa | Display LCD |
| Interval de măsurare (lemn) | 0-99.9% |
| Rezoluţie | 0.1% |
| Precizie | 0.5% |
| Lungimea sondei | 10mm |
| Alimentare electrică | 1 baterie de 9V (nu este inclusă) |
| Dimensiuni articol (L x l x H) | 14 x 6.5 x 3 cm (5.51 x 2.56 x 1.18 țoli) |
| Greutatea articolului | 104 g (3.68 oz) |
6. Configurare
6.1. Instalarea bateriei
- Localizați capacul compartimentului bateriei pe spatele dispozitivului.
- Glisați sau desfaceți capacul pentru a deschide compartimentul.
- Insert one 9V battery, ensuring the polarity (+/-) matches the diagram inside the compartment.
- Închideți bine capacul compartimentului bateriei.
Nota: A 9V battery is not included in the package and must be purchased separately.
7. Instrucțiuni de utilizare
7.1. Pornire/Oprire
- To turn on the device, press the red Power button (⏻). The LCD display will illuminate.
- To turn off the device, press and hold the Power button (⏻) timp de câteva secunde.
- The device features an auto-power-off function to conserve battery life if inactive for a period.
7.2. Selecting Wood Group
Before taking a measurement, it is crucial to select the correct wood calibration scale (group) for the material you are testing. This ensures accurate readings. Press the MOD button repeatedly to cycle through the four wood groups: A, B, C, and D. The selected group will be indicated on the LCD display.
Tabelul grupelor de specii de lemn:
| Grup | Specii de lemn |
|---|---|
| A | Teak, Walnut, Afrormosia, Rubber Tree, Imbuia, Kokrodua, Niove Bidinkala, Cork |
| B | Keruing, White Poplar, Beech, Cedar, Tola |
| C | Lauan, Ash, Elm, Fir, Maple, Padauk, Oak, Cherry |
| D | Basswood, Larch, Pine, Birch |
7.3. Luarea unei măsurători
- Scoateți capacul de protecție de pe știfturile de măsurare.
- Porniți dispozitivul apăsând butonul de pornire/oprire.
- Select the appropriate wood group using the MODE button.
- Carefully insert the two measurement pins into the wood material. Ensure both pins penetrate the surface to obtain an accurate reading.
- The moisture content percentage va fi afișat pe LCD.
- Pentru a menține citirea curentă pe afișaj, apăsați butonul ȚINE button. Press it again to release the hold function.
- After measurement, remove the pins from the wood and replace the protective cap.
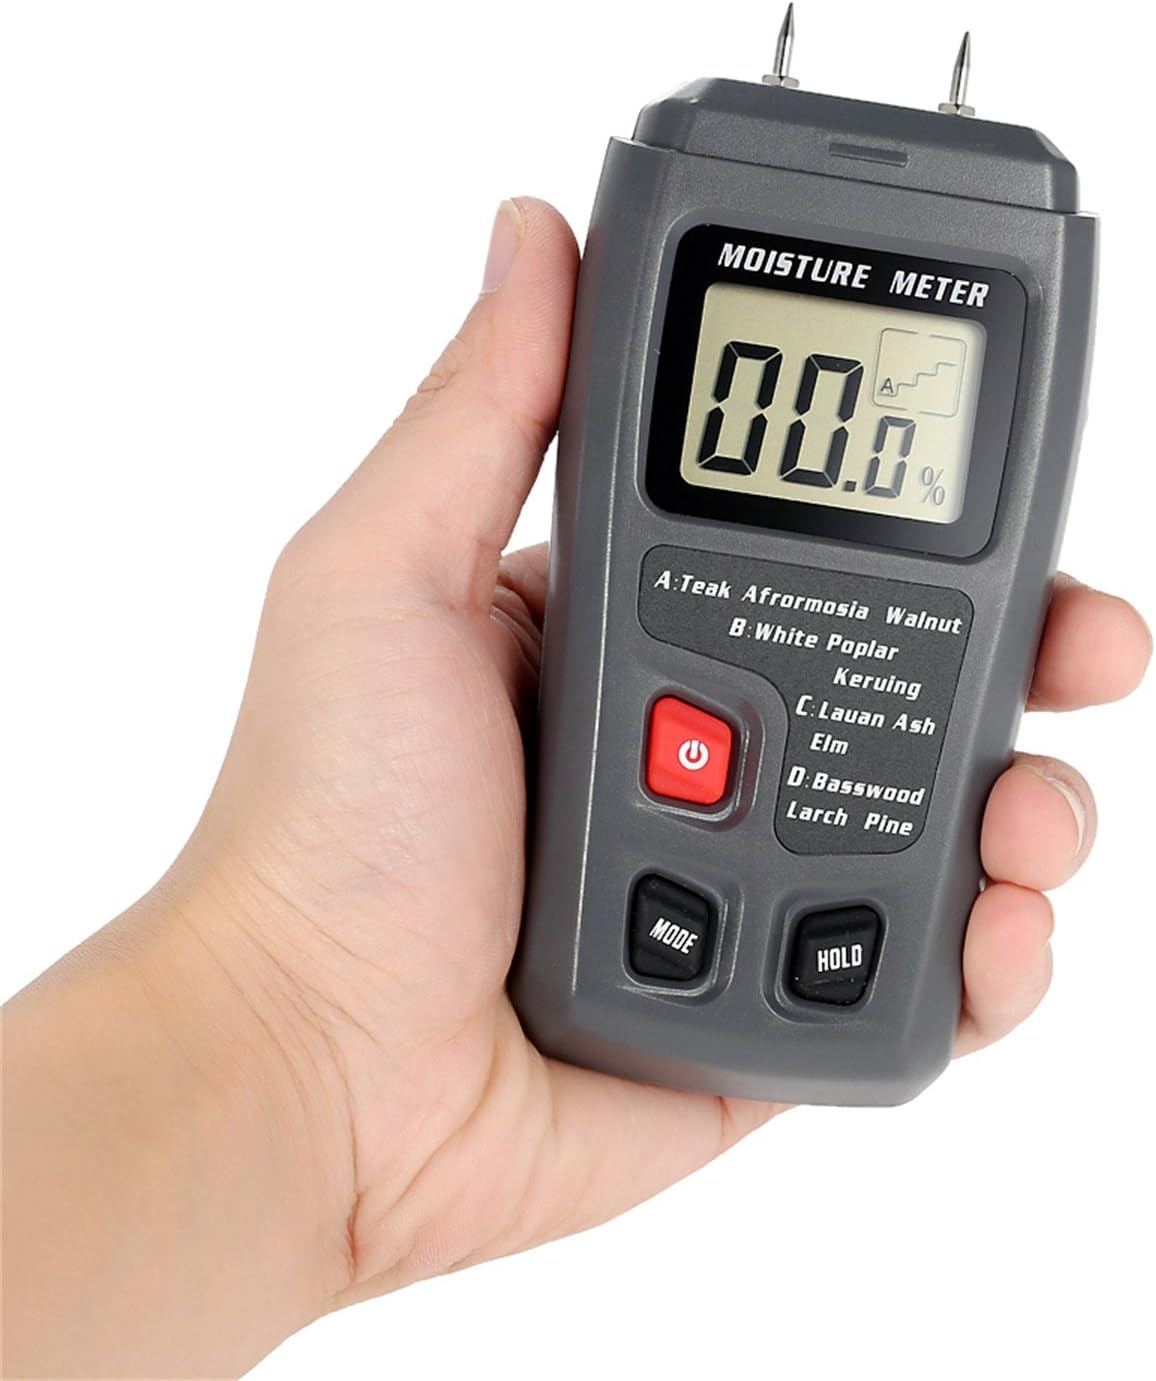
Figura 3: The moisture meter in use, with its pins inserted into a piece of wood to measure moisture content.
Important: The pins will leave small marks on the wood surface. Consider this when choosing the measurement location.
8. Întreținere
- curatenie: Ștergeți dispozitivul cu o lavetă moale și uscată. Nu utilizați substanțe de curățare abrazive sau solvenți.
- Depozitare: Store the meter in a cool, dry place, away from direct sunlight and extreme temperatures. Always replace the protective cap over the pins when storing.
- Înlocuire baterie: When the battery indicator appears on the display, replace the 9V battery as described in the "Battery Installation" section.
9. Depanare
| Problemă | Cauza posibila | Soluţie |
|---|---|---|
| Dispozitivul nu pornește. | Bateria este descărcată sau instalată incorect. | Înlocuiți bateria de 9V sau verificați polaritatea acesteia. |
| No reading or "0.0%" displayed. | Pins not fully inserted into the wood, or wood is extremely dry. | Ensure pins penetrate the wood surface. If wood is very dry, "0.0%" may be an accurate reading. |
| Citiri inexacte. | Incorrect wood group selected; pins are dirty or damaged. | Verify the correct wood group is selected. Clean pins with a dry cloth. If pins are damaged, contact support. |
10. Garanție și asistență
This product comes with a standard manufacturer's warranty. For specific warranty terms and conditions, please refer to the documentation provided at the time of purchase or contact your retailer. For technical support or service inquiries, please contact the seller or manufacturer directly.
Documente aferenteEMT01


Ask a question about this manual
Ask about setup, troubleshooting, compatibility, parts, safety, or missing instructions. Manuals+ will review the question and use this page’s manual context to help answer it.