
Introducere
This manual provides detailed instructions for the proper use and maintenance of your Casio Illuminator AQ-E10 digital-analog watch. Please read this manual thoroughly to ensure optimal performance and longevity of your timepiece. The AQ-E10 features both analog and digital time displays, an alarm, a stopwatch, and an illuminator backlight.
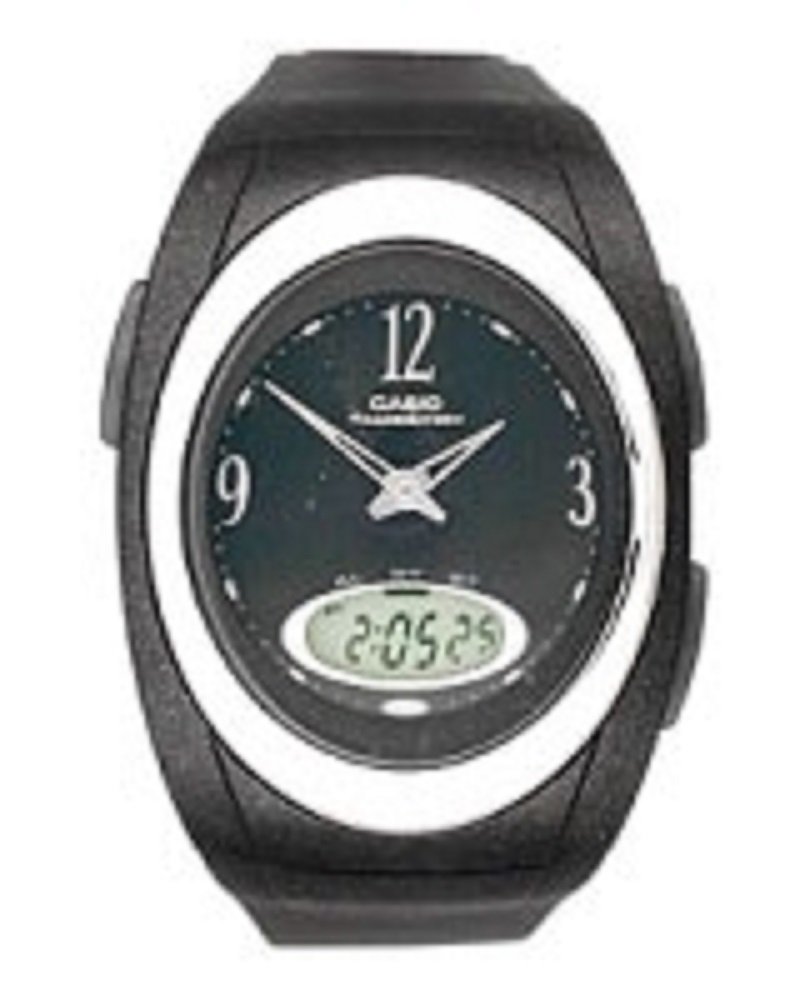
Faţă view of the Casio Illuminator AQ-E10 watch, showcasing its digital and analog display, black rubber strap, and round black dial.
Înființat
Inspecția inițială
Upon unboxing, inspect the watch for any visible damage. Ensure all buttons operate smoothly. If any issues are found, contact your retailer.
Setarea orei și datei digitale
- În modul de măsurare a orei, apăsați și țineți apăsat butonul REGLA button (usually top-left) until the seconds digits start to flash, indicating the setting screen.
- Apăsați tasta MOD button (usually bottom-left) to cycle through the settings: Seconds → Hour → Minutes → Year → Month → Day → 12/24-hour format.
- Utilizați CĂUTARE button (usually top-right) or REDIRECŢIONA button (usually bottom-right) to increase the flashing value. Hold the button to change values rapidly.
- După ce toate setările sunt ajustate, apăsați butonul REGLA button again to exit the setting screen.
Synchronizing Analog Hands
The analog hands are typically synchronized automatically with the digital time. If they are out of sync, refer to the detailed instructions in the operating section for manual adjustment, or consult the full Casio module manual for your specific watch module number (often found on the watch's case back).
Operarea ceasului
Mod de navigare
Apăsați tasta MOD button to cycle through the watch's functions: Timekeeping Mode → Alarm Mode → Stopwatch Mode.
Modul de cronometrare
This mode displays the current time (hours, minutes, seconds) and date (month, day, day of the week) digitally, alongside the analog hands.
Modul de alarmă
- Din modul de măsurare a timpului, apăsați MOD until you reach the Alarm Mode. The alarm time will be displayed.
- Țineți apăsat butonul REGLA apăsați butonul până când cifrele orei alarmei clipesc.
- Utilizați CĂUTARE or REDIRECŢIONA pentru a seta ora dorită a alarmei.
- Presa MOD to move to the minutes setting, then use CĂUTARE or REDIRECŢIONA pentru a seta minutele.
- Presa REGLA pentru a confirma și a ieși.
- Pentru a activa/dezactiva alarma, apăsați butonul CĂUTARE button while in Alarm Mode (without holding REGLA). An indicator will show if the alarm is active.
Mod Cronometru
- Din modul de măsurare a timpului, apăsați MOD until you reach the Stopwatch Mode. The display will show "00'00"00".
- Apăsați tasta CĂUTARE buton pentru a porni cronometrul.
- Presa CĂUTARE din nou pentru a opri cronometrul.
- Apăsați tasta REGLA butonul pentru a reseta cronometrul la „00'00"00”.
Illuminator (Backlight)
Apăsați tasta APRINDE button (usually top-right or a dedicated button) to illuminate the digital display for easy viewing in low-light conditions. The illumination duration is typically a few seconds.
Întreţinere
Rezistenta la apa
The Casio AQ-E10 is designed to be water resistant. However, it is important to avoid operating the watch buttons while submerged in water to prevent water ingress. Avoid exposing the watch to hot water or steam, as this can compromise the seals.
Curatenie
Ștergeți carcasa și cureaua ceasului cu o cârpă moale și uscată. Pentru murdăria persistentă, ștergeți ușor.amp cloth can be used, followed by a dry cloth. Avoid using chemical cleaners, as they may damage the watch's materials.
Înlocuirea bateriei
The watch is powered by a battery. When the display becomes dim or functions become erratic, it may be time for a battery replacement. It is highly recommended to have the battery replaced by a qualified watch technician to ensure proper sealing and water resistance integrity.
Depozitare
Când nu îl utilizați pentru perioade lungi de timp, depozitați ceasul într-un loc răcoros și uscat, ferit de lumina directă a soarelui și de temperaturi extreme.
Depanare
- Afișaj incorect al orei: If the digital or analog time is incorrect, refer to the "Setting the Digital Time and Date" and "Synchronizing Analog Hands" sections under Setup to re-adjust.
- Blank or Dim Digital Display: This usually indicates a low battery. Arrange for battery replacement by a professional.
- Butoanele care nu răspund: Ensure the watch is not in a locked mode (if applicable, though not a common feature for this model). If the issue persists, a battery replacement or professional inspection may be required.
- Condensation Inside Watch: If condensation appears inside the watch, it indicates a breach in water resistance. Stop using the watch immediately and have it inspected by a professional to prevent further damage.
Specificații
- Număr de model:
- AQ-E10-1BEF
- Format de afișare:
- Analog-digital
- Tip de mișcare:
- Cuarţ
- Caracteristici speciale:
- Alarm, Chronograph (Stopwatch), Illuminator (Backlight)
- Sursa de alimentare:
- Baterie
- Tip de închidere:
- Cataramă
- Material curea:
- Cauciuc
- Material carcasa:
- Cauciuc
- Tip cristal:
- Acril
- Culoarea curelei:
- Negru
- Culoare cadran:
- Negru
- Grosimea carcasei:
- 7 milimetri
- Lățimea curelei:
- 16 milimetri
- Dimensiuni (pachet):
- 11 x 11 x 7.49 cm; 27.22 g
- Rezistenta la apa:
- General water resistance (specific depth not provided, avoid button operation underwater).
Garanție și suport
Your Casio Illuminator AQ-E10 watch is covered by a manufacturer's warranty. For specific warranty terms and conditions, please refer to the warranty card included with your purchase or visit the official Casio website. For technical support, service, or inquiries, please contact Casio customer service or an authorized service center.
Casio oficial Website: www.casio.com