
1. Introducere și informații despre siguranță
This manual provides essential instructions for the assembly, operation, and maintenance of your Qaba 370-024BK Toddler Tricycle. Please read all instructions carefully before assembly and use to ensure safe operation and to prevent injury.
1.1 Avertismente importante de siguranță
- Supravegherea unui adult este necesară: Supravegheați întotdeauna copiii atunci când folosesc tricicleta.
- Limită de vârstă și greutate: Suitable for children aged 24 months to 5 years. Maximum weight capacity is 55 lbs (25 kg).
- Echipament de protecție: Ensure the child wears a helmet and appropriate safety gear (e.g., knee and elbow pads) at all times.
- Hazard Awareness: Do not use near stairs, on steep inclines, near roads, or in areas with vehicular traffic.
- Verificare înainte de călătorie: Before each use, verify that all bolts, nuts, and connections are securely fastened. Check for any loose or damaged parts.
- Plasarea piciorului: Ensure the child's feet are properly placed on the pedals to avoid injury.
2. Conținutul pachetului
Carefully unpack all components and ensure all items are present. If any parts are missing or damaged, contact customer support immediately.
- Tricycle Frame
- Front Wheel with Fender
- Roțile din spate (2)
- Handlebars with Bell
- Seat (Adjustable)
- Pedale (2)
- Elemente de asamblare (șuruburi, piulițe, șaibe)
- Multi-purpose Tool for Assembly
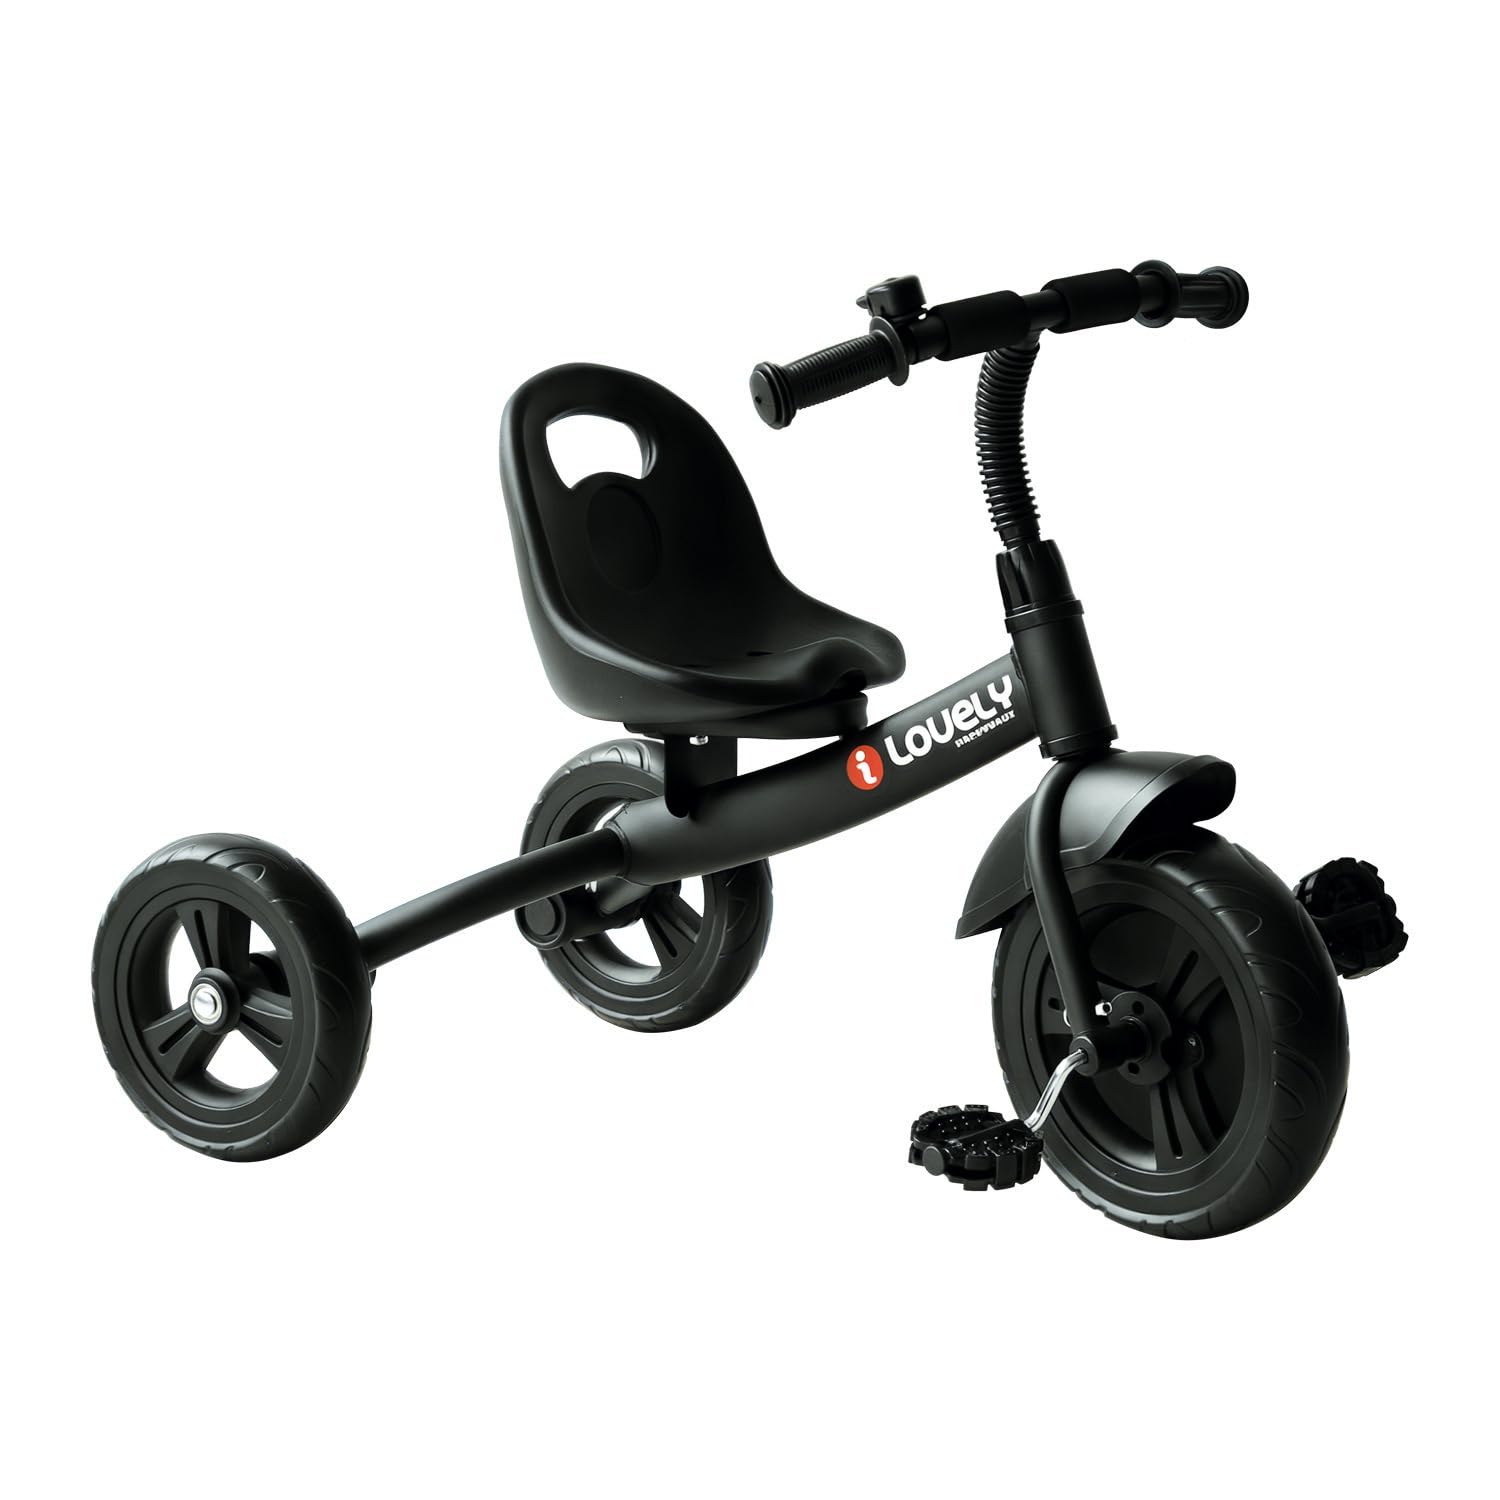
Image 2.1: Qaba 370-024BK Toddler Tricycle (Black)
3. Instructiuni de asamblare
Assembly should be performed by an adult. Refer to the included diagrams for visual guidance.
3.1 Asamblare pas cu pas
- Atașați ghidonul: Insert the handlebar stem into the front fork tube. Ensure it is fully seated and aligned. Tighten the securing bolt firmly with the provided tool.
- Install Front Wheel and Fender:
- First, attach the front fender to the front fork using the designated screw. Ensure the wider part of the fender faces forward.
- Next, insert the front wheel axle through the fork. Ensure any protective foam or caps are removed from the axle ends. Secure the wheel with the provided nuts, ensuring they are tightened to prevent wobbling.
Video 3.1: Demonstration of front wheel and pedal assembly, showing how to secure the components.
- Atașați roțile din spate:
- Remove any protective foam from the rear wheel axles.
- Align each rear wheel with its respective axle on the tricycle frame.
- Engage the lock release mechanism (if present) and push the wheel onto the axle until it clicks securely into place. Verify that both rear wheels are firmly attached and spin freely.

Image 3.2: Detail of a rear wheel and axle connection, showing secure attachment.
- Instalați pedale: Screw the pedals into the crank arms on the front wheel. Ensure they are tightened securely.
- Attach and Adjust Seat:
- Place the seat onto the frame's seat post.
- The seat offers two adjustable positions. Select the appropriate height for your child by aligning the seat with the desired bolt holes.
- Secure the seat with the provided bolts and tighten them very firmly to prevent movement during use.
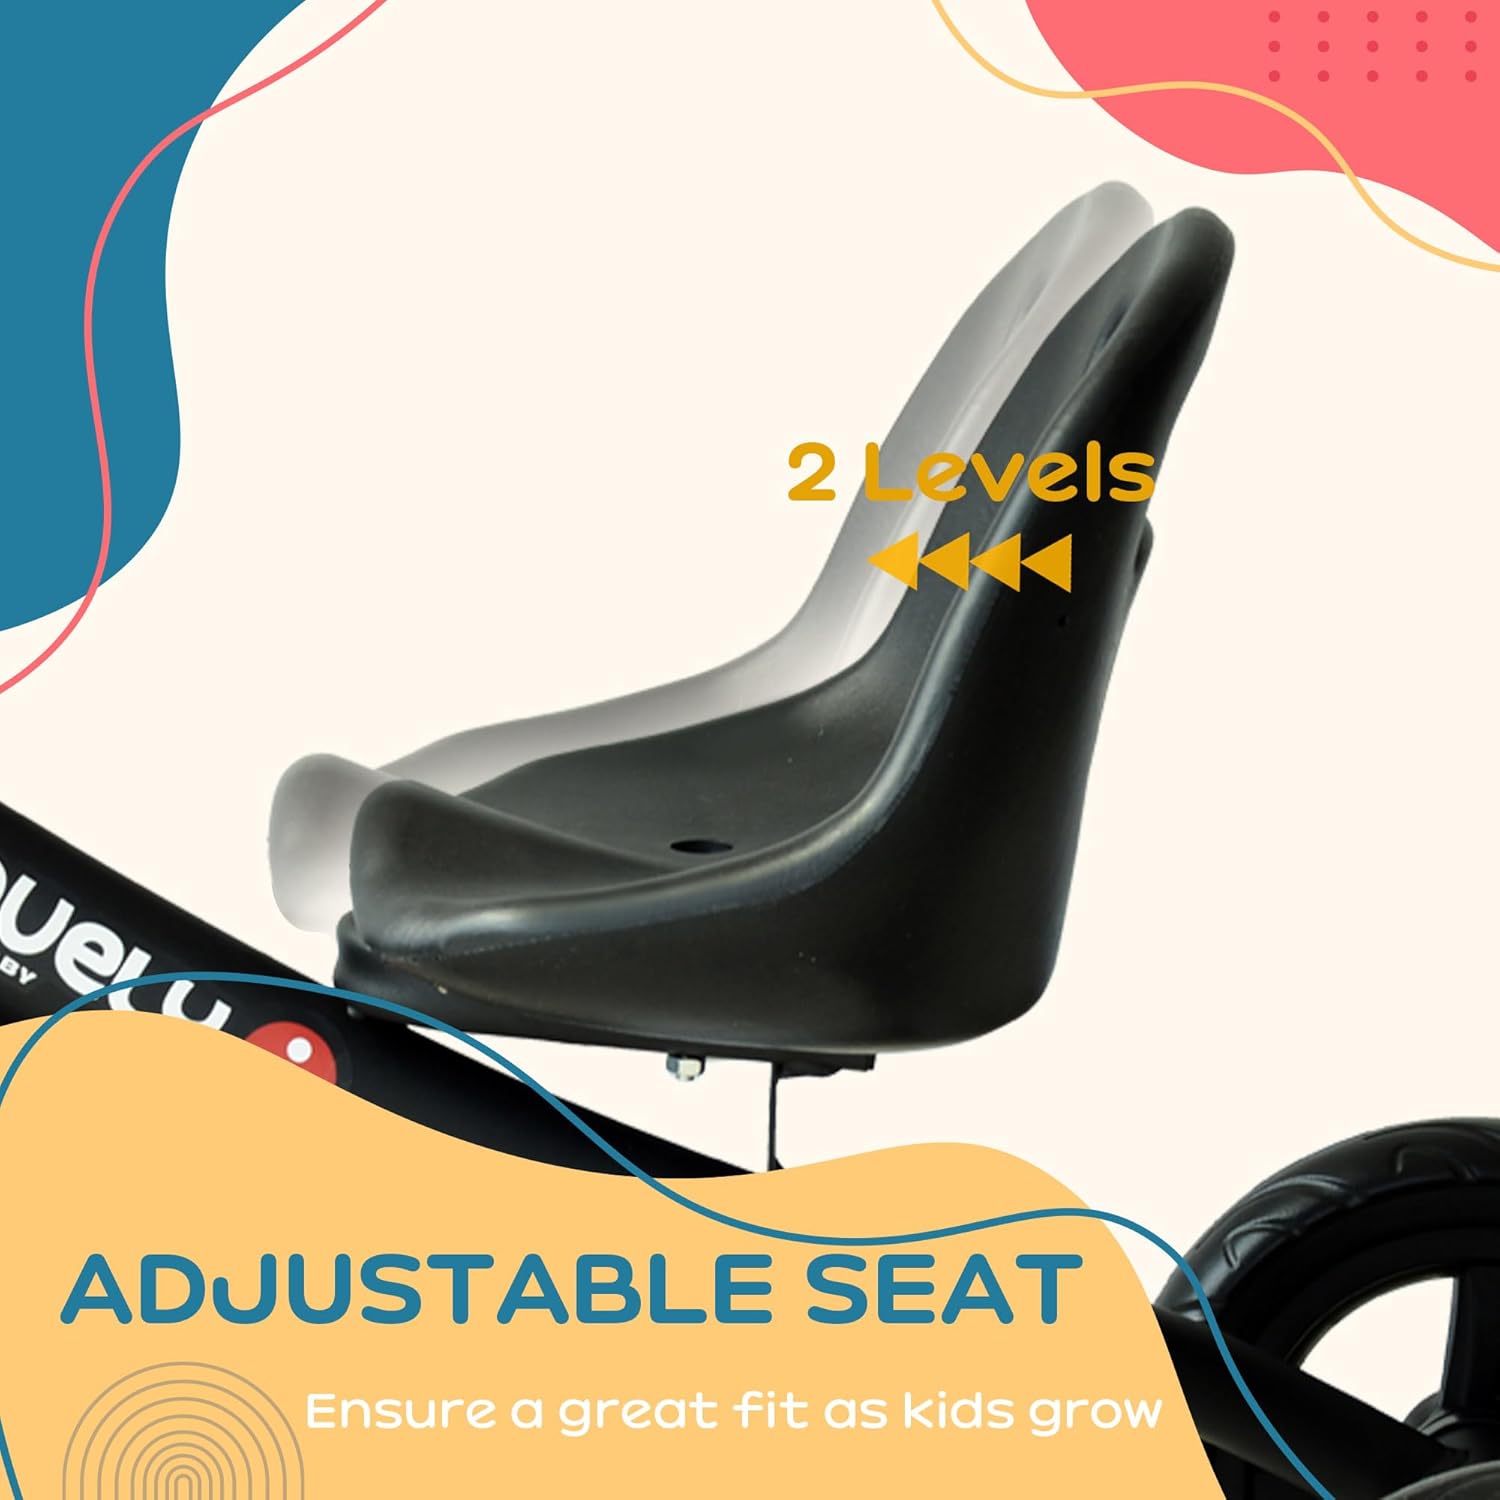
Image 3.3: The adjustable seat feature, illustrating the two height settings.
Video 3.4: Produsul oficial s-a încheiatview of the Qaba 3-Wheel Recreation Ride-On Toddler Tricycle, demonstrating features and general use.
4. Instrucțiuni de utilizare
Once assembled and safety checks are complete, the tricycle is ready for use.
- Călărie: Instruct the child to sit on the seat, place their feet on the pedals, and grasp the handlebars. They can propel the tricycle by pedaling forward.
- Director: The handlebars control the direction of the front wheel. Teach the child to steer by turning the handlebars left or right.
- Using the Bell: The integrated bell on the handlebars can be used to alert others.
- Design ergonomic: The ergonomic seat is designed to support the child's spine during riding, promoting comfort and proper posture.

Image 4.1: A child demonstrating proper riding posture on the Qaba tricycle.
5. Întreținere
Regular maintenance ensures the longevity and safe operation of your tricycle.
- curatenie: Ștergeți tricicleta cu reclamăamp cârpă și săpun blând. Evitați substanțele chimice dure.
- Bolt Checks: Periodically check all bolts and nuts, especially those on the seat and wheels, to ensure they remain tight. Re-tighten as necessary.
- Inspecția roților: Inspect the EVA wheels for wear or damage. The quiet EVA wheels are puncture-resistant and suitable for both indoor and outdoor use.
- Lubrifiere: Apply a small amount of lubricant to moving parts like the wheel axles and pedal mechanisms if they become stiff.
- Depozitare: Store the tricycle in a dry, covered area to protect it from weather elements. The lightweight design allows for easy storage.
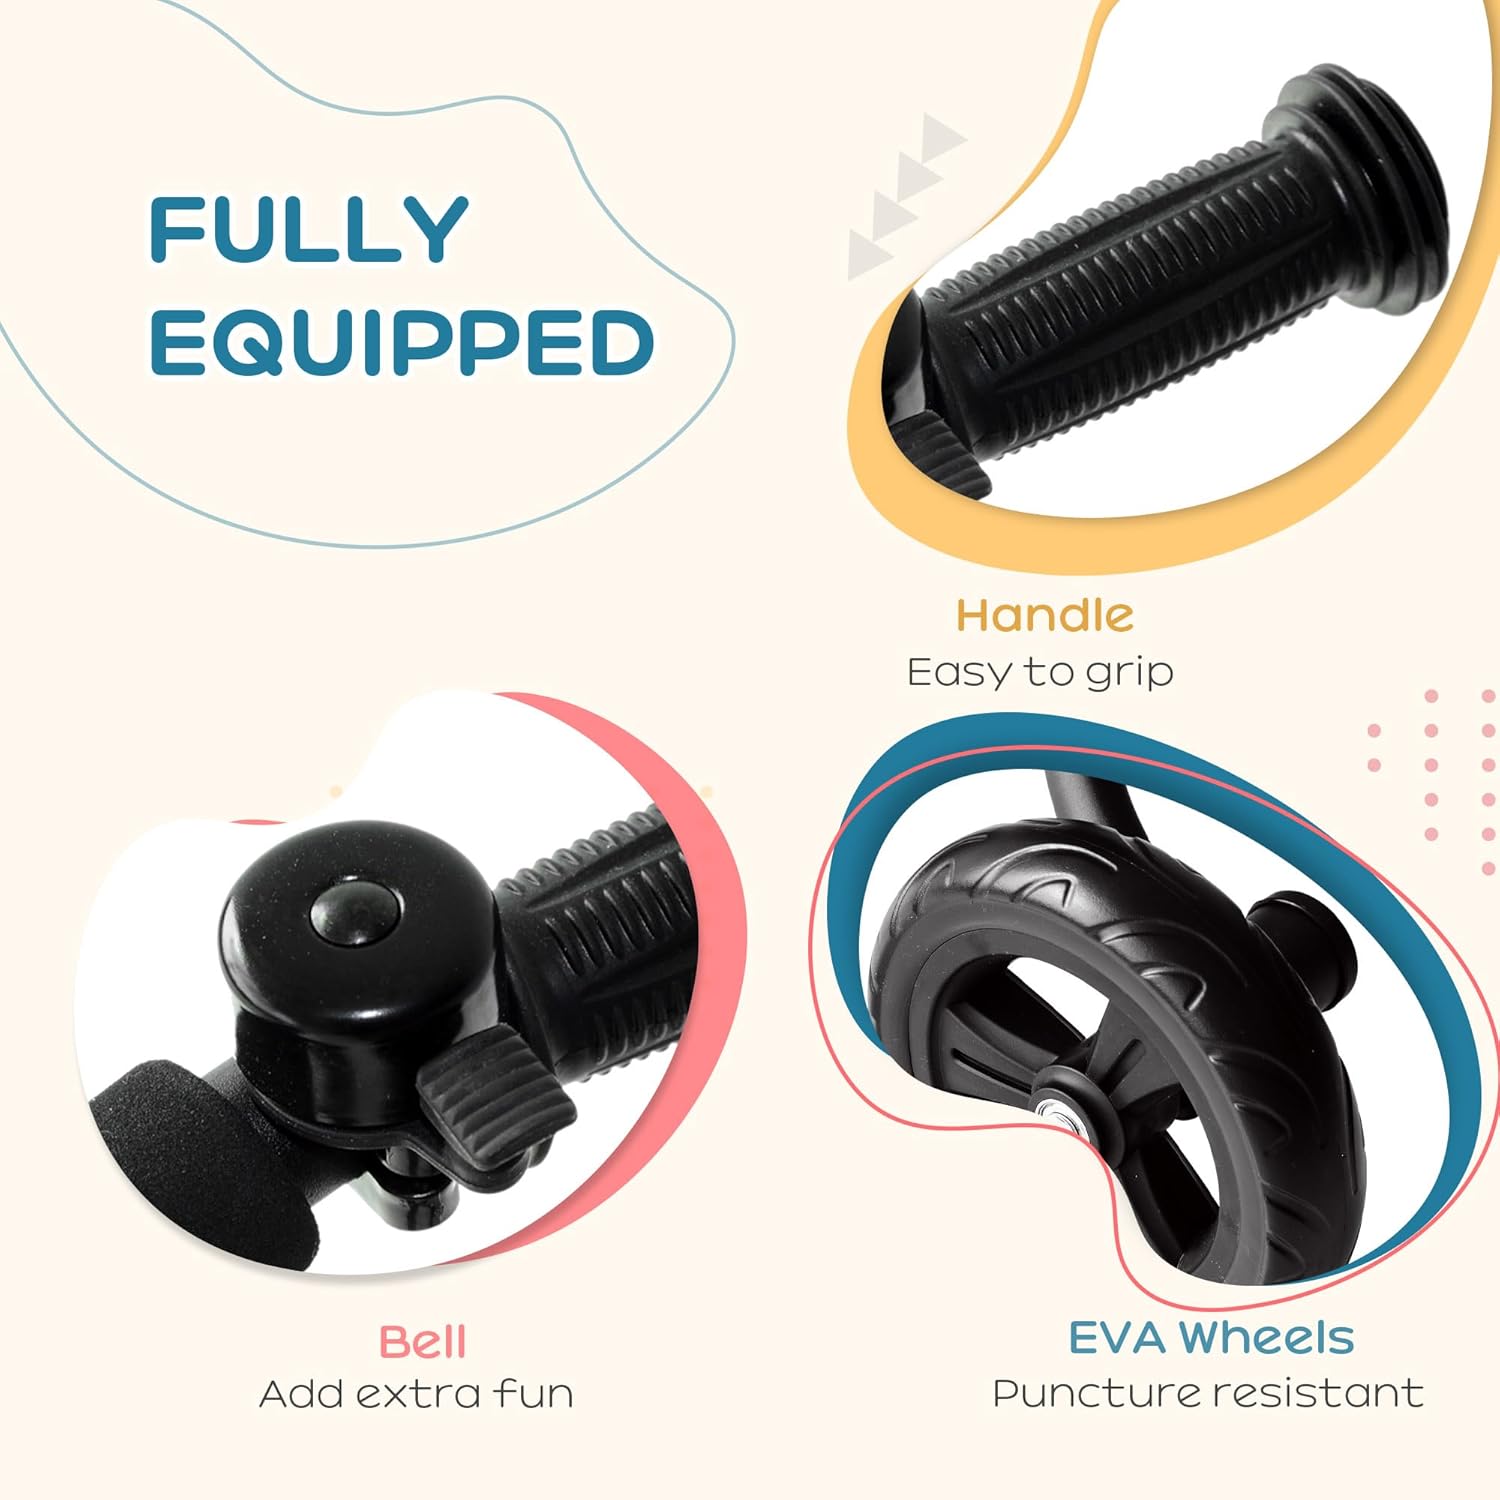
Image 5.1: Detail of the tricycle's bell and durable EVA wheels.
6. Depanare
Această secțiune abordează problemele frecvente pe care le-ați putea întâmpina.
- Front Wheel Wobbles: Ensure the front wheel axle nuts are securely tightened. Check that the fender is properly attached and not interfering with wheel rotation.
- Fender Not Staying On: Verify that the fender screw is fully tightened and that the fender is correctly aligned with the front fork.
- Seat Movement: Re-tighten the seat bolts firmly. The seat has two positions; ensure it is properly aligned in one of these positions.
- Dificultate la pedalare: Check for any obstructions around the pedals or wheels. Ensure the child's feet are correctly positioned on the pedals.
7. Specificații
| Caracteristică | Caietul de sarcini |
|---|---|
| Numărul de model | 370-024BK |
| Dimensiunile produsului | 39.1 x 17.3 x 21.7 inci |
| Greutatea articolului | 9.9 lire sterline |
| Varsta Recomandata | 24 luni - 5 ani |
| Capacitate maximă de greutate | 55 lbs (25 kg) |
| Material | Steel frame with powder-coated finish, PP seat, EVA wheels |
| Culoare | Negru |

Image 7.1: Tricycle dimensions for reference.
8. Garanție și asistență
For warranty information or technical support, please refer to the product packaging or contact Qaba customer service directly. Keep your purchase receipt for any warranty claims.