
Power Probe PP401AS
Power Probe IV Automotive Diagnostic Test Tool User Manual
Model: PP401AS
1. Introducere
The Power Probe IV is an advanced automotive diagnostic tool designed to assist technicians in testing electrical circuits and signals within vehicles. It combines multiple diagnostic functions into a single, ergonomic device, providing detailed information for efficient troubleshooting. This manual provides essential information for the safe and effective use of your Power Probe IV.
For more information, visit the official Power Probe website: Power Probe IV

Image 1.1: The Power Probe IV diagnostic tool kit, including the main unit, carrying case, and various connection accessories.
2. Caracteristici cheie
The Power Probe IV offers a comprehensive set of features for automotive electrical diagnostics:
- Power and Ground Supply: Capable of supplying battery ground and power for functional component testing.
- Digital Volt and Ohmmeter: Integrated for precise circuit testing, measuring AC/DC Voltage, Resistance, Hertz, Frequency, and Pulse Width.
- Large Color LCD Screen: Provides clear, easy-to-read information with an intuitive user menu.
- Testarea semnalului: Supports AC-RMS, AC peak-to-peak, frequency, and pulse width measurements.
- Design ergonomic: Features a heavy-duty, water and solvent-resistant housing for durability and comfortable use.
- Protecția circuitului: Equipped with an automatic resetting 8 Amp întrerupător de circuit.
- Vol. Largtage Gama: Operates within a 12-24 Volt range.
- Compatibilitate: Works with all Power Probe test leads and accessories.
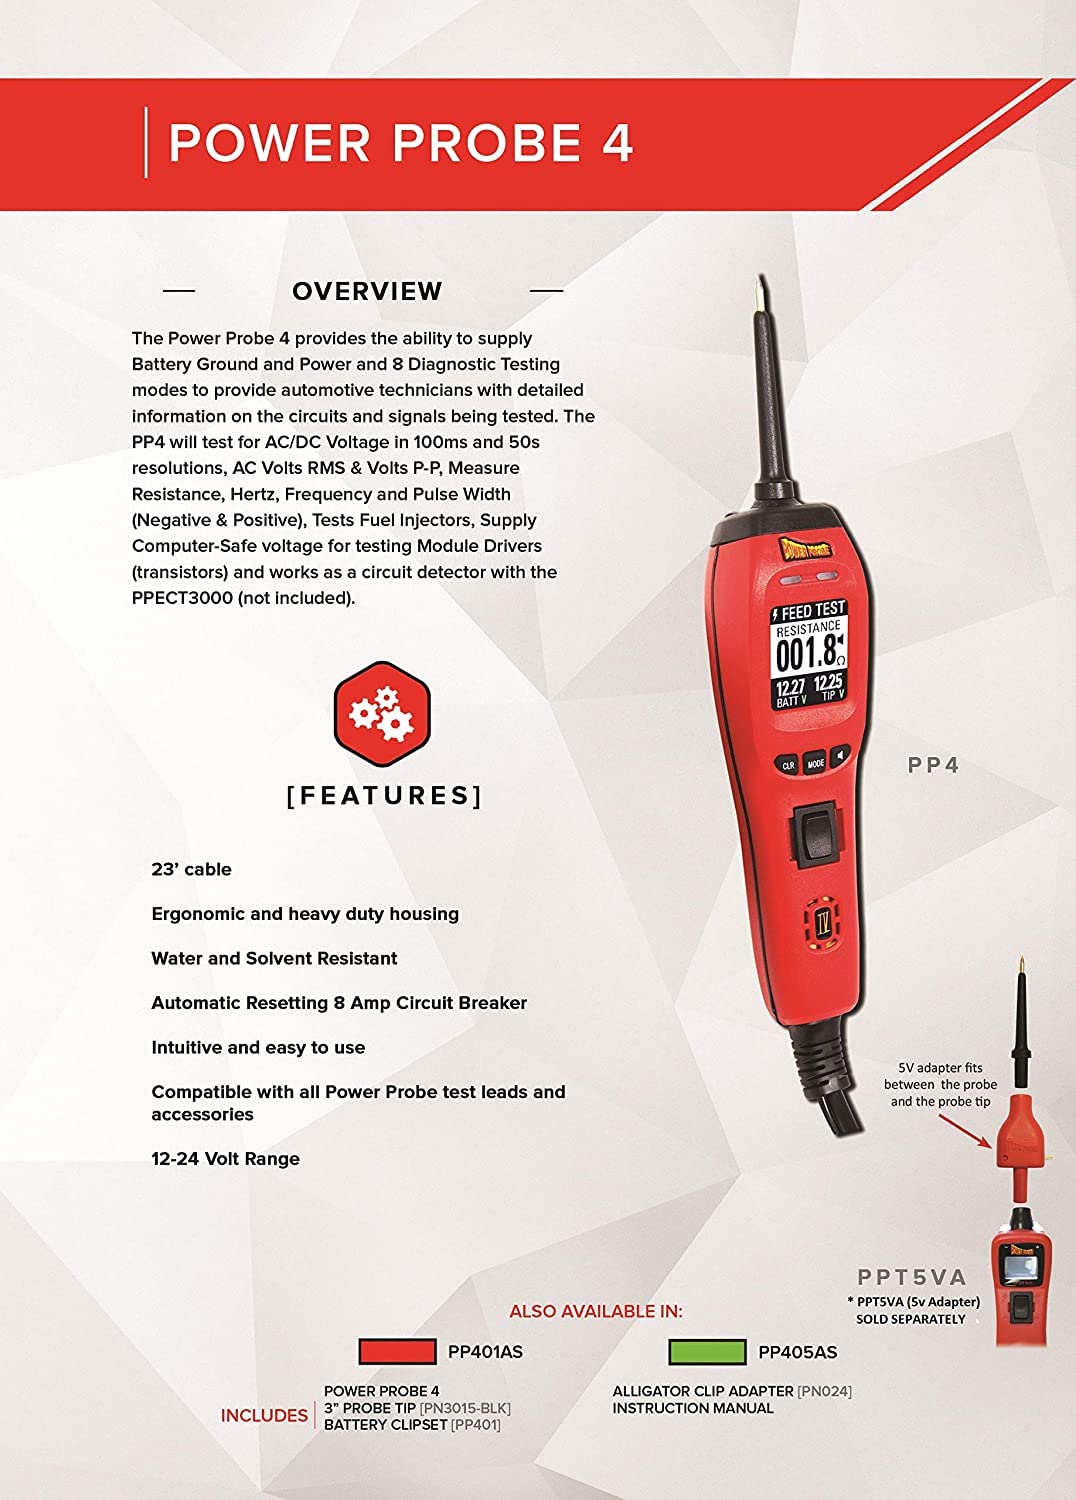
Image 2.1: Visual representation of the Power Probe IV's key features and design elements.
3. Ce se află în cutie
Your Power Probe IV package typically includes the following items:
- Power Probe IV Unit (Model PP401AS)
- Battery Clip Set
- Manual de instructiuni
- Husă de transport de protecție
4. Configurare și conectare inițială
Before using your Power Probe IV, ensure a proper connection to the vehicle's battery.
- Connect the Red Clip: Attach the red battery clip to the positive (+) terminal of the vehicle's 12V or 24V battery.
- Connect the Black Clip: Attach the black battery clip to the negative (-) terminal of the vehicle's battery or a suitable chassis ground point.
- Pornire: The Power Probe IV will power on automatically once connected. The LCD screen will illuminate, indicating it is ready for use.
Notă de siguranță: Always ensure secure connections to prevent accidental disconnections or short circuits. Do not connect the Power Probe IV to voltages exceeding its specified operating range (12-24V).
5. Instrucțiuni de utilizare
The Power Probe IV features an intuitive interface with various modes for different diagnostic tasks. Familiarize yourself with the tool's controls and display.
5.1 Tool Overview și Controale
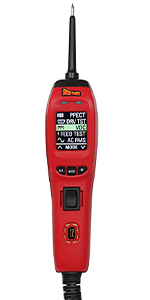
Image 5.1: Diagram illustrating the main components and controls of the Power Probe IV.
- Sfat pentru sondă: Folosit pentru a contacta circuitele pentru testare.
- Lanternă: Iluminează zona de lucru.
- Red/Green LEDs: Indicate positive (red) or negative (green) voltage at the probe tip.
- Ecran color: Displays measurement data and menu options.
- CLR Button (Left): Clears minimum/maximum readings or scrolls up in menus.
- MODE Button (Center): Selectează diferite moduri de funcționare.
- Comutator basculant: Applies battery positive or negative voltage la vârful sondei.
- Vorbitor: Oferă feedback sonor pentru anumite funcții.
5.2 Diagnostic Modes and Functions
Apăsați tasta MOD button to cycle through the available diagnostic modes:

Imaginea 5.2: Pesteview of the Power Probe IV's primary diagnostic capabilities.
- Power Up Mode:
Actively tests components like motors, lights, and fans by supplying power or ground. Use the rocker switch to apply voltage la vârful sondei.

Image 5.3: Using the Power Probe IV to measure voltage at a battery terminal.
- Citiri min/max:
Captures and displays minimum and maximum voltage spikes or drop-outs in circuits, useful for intermittent fault detection.
- Continuity & Resistance:
Tests the continuity of wires and components, and measures resistance (Ohms) to identify open circuits or shorts.

Image 5.4: Testing a fuse for continuity within a vehicle's fuse box.
- Frecvența (Hz):
Measures the frequency of signals, essential for testing computer sensors and Pulse Width Modulation (PWM) circuits.

Image 5.5: The Power Probe IV displaying a frequency reading.
- Driver Test Mode:
Safely tests computer circuits that control relays, solenoids, and motors without causing damage.
- AC RMS, Peak to Peak:
Measures AC Root Mean Square (RMS) and Peak-to-Peak voltage outputs from alternators and sensors to verify correct operation.

Image 5.6: AC RMS Voltage afișare.

Image 5.7: AC Peak to Peak Voltage afișare.
- Fuel Injector Test Mode:
Reads operating values of individual fuel injectors, allowing technicians to compare them and identify faulty injectors.

Image 5.8: Testing a fuel injector with the Power Probe IV.
6. Întreținere
Proper maintenance ensures the longevity and accuracy of your Power Probe IV.
- curatenie: Ștergeți instrumentul cu reclamăamp o lavetă pentru a îndepărta murdăria și praful. Evitați substanțele chimice dure sau produsele de curățare abrazive.
- Depozitare: Store the Power Probe IV in its protective carrying case when not in use to prevent damage. Keep it in a dry environment.
- Verificarea cablului: Regularly inspect the power cable and test leads for any signs of wear, cuts, or damage. Replace damaged components immediately.
- Sfat pentru sondă: Ensure the probe tip is clean and sharp for optimal contact.
7. Depanare
If you encounter issues with your Power Probe IV, consider the following common troubleshooting steps:
| Problemă | Cauza posibila | Soluţie |
|---|---|---|
| Instrumentul nu pornește. | Incorrect or loose battery connection. Vehicle battery is dead. | Ensure red and black clips are securely connected to the correct battery terminals. Verify vehicle battery voltage. |
| No reading on screen. | Probe tip not making good contact. Circuit is open or dead. | Ensure firm contact with the circuit. Check for continuity or voltage în circuit. |
| Întrerupătorul de circuit se declanșează frecvent. | Overload on the circuit being tested. Short circuit detected. | Reduce the load on the circuit or investigate for a short circuit before reapplying power. The breaker resets automatically. |
| Citiri inexacte. | Poor connection. Damaged probe tip or cable. | Clean probe tip and ensure solid connection. Inspect cables for damage. |
If problems persist, contact Power Probe customer support for assistance.
8. Specificații
| Atribut | Detaliu |
|---|---|
| Numărul de model | PP401AS |
| Marca | Sonda de putere |
| Sursa de alimentare | Battery Powered (Vehicle Battery 12-24V) |
| Greutatea articolului | 3 lire sterline |
| Dimensiunile produsului | 4 x 8 x 4 inci |
| Lungimea cablului | 23 picioare (aprox.) |
| Întrerupător | Automatic Resetting 8 Amp |
| Afişa | LCD color mare |
9. Garanție și asistență
For warranty information, technical support, or service inquiries, please refer to the official Power Probe website-ul lor sau contactați departamentul lor de asistență pentru clienți. Păstrați bonul fiscal ca dovadă a achiziției.
Optional protection plans may be available for extended coverage. Please check with your retailer or Power Probe for details.
Documente aferentePP401AS


Ask a question about this manual
Ask about setup, troubleshooting, compatibility, parts, safety, or missing instructions. Manuals+ will review the question and use this page’s manual context to help answer it.