
1. Introducere
This manual provides detailed instructions for the safe and proper installation and operation of your Techly Tilting Wall Mount, Model B00DEBVVHS. This wall mount is designed to securely hold LED/LCD TVs ranging from 13 to 30 inches, with a maximum weight capacity of 23 kg (51 lbs). It features adjustable mounting holes compatible with VESA standards 75x75 mm and 100x100 mm, and offers a tilt range of +/- 15 degrees for optimal viewing angles. The mount maintains a distance of 98 mm from the wall.
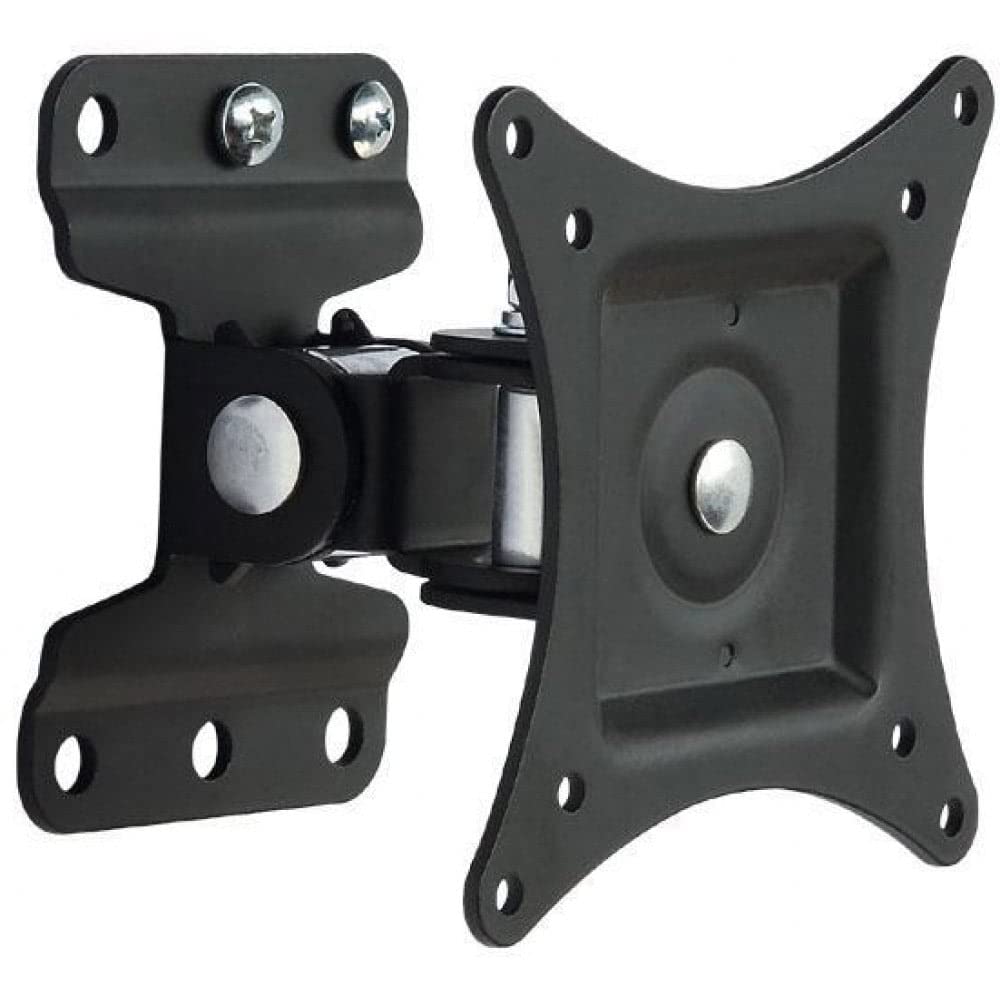
Imaginea 1.1: Față view of the Techly Tilting Wall Mount.
2. Informații de siguranță
- Citiți cu atenție toate instrucțiunile: Before installation, ensure you understand all instructions. If you have any doubts, consult a qualified professional.
- Capacitate de greutate: Do not exceed the maximum weight capacity of 23 kg (51 lbs). Overloading can result in serious injury or property damage.
- Dimensiunea ecranului: This mount is designed for TVs between 13 and 30 inches. Using it with TVs outside this range may compromise stability.
- Tip de perete: Ensure the mounting surface can safely support the combined weight of the mount and your TV. This mount is intended for installation on solid concrete walls, brick walls, or wood stud walls. Do not install on drywall alone.
- Instrumente: Folosiți unelte adecvate pentru instalare. Purtați ochelari de protecție și alte echipamente de protecție, după cum este necesar.
- Copii: Țineți copiii departe de zona de instalare.
- Întreţinere: Verificați periodic dacă suportul este fixat și dacă toate elementele de fixare sunt strânse.
3. Conținutul pachetului
Verificați dacă toate componentele sunt prezente înainte de a începe instalarea. Dacă lipsesc sau sunt deteriorate piese, nu continuați instalarea și contactați serviciul de asistență pentru clienți.
- Wall Mount Assembly (1 unit)
- Elemente de montare (șuruburi, ancore, șaibe, distanțiere)
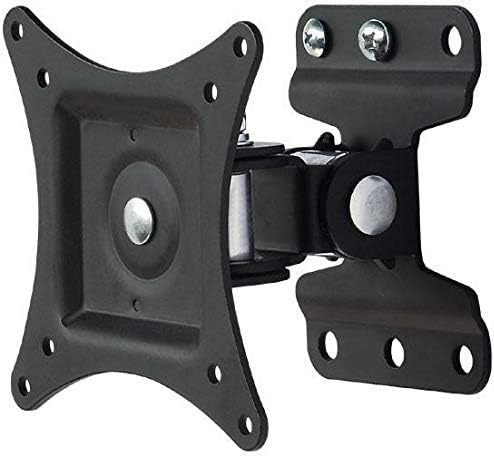
Imaginea 3.1: View of the wall mount components, including the main bracket and articulating arm.
4. Specificații
| Model | B00DEBVVHS |
| Marca | Tehnologic |
| Tip de montare | Montare pe perete |
| Tipul de mișcare | Articulat, înclinat |
| Dimensiuni de ecran compatibile | 13 - 30 inci |
| Greutatea maximă a televizorului | 23 kg (51 lbs) |
| Compatibilitate VESA | 75x75 mm, 100x100 mm |
| Unghi de înclinare | +/- 15 de grade |
| Distanța față de perete | 98 mm (3.9 țoli) |
| Material | Aluminiu |
| Culoare | Negru |
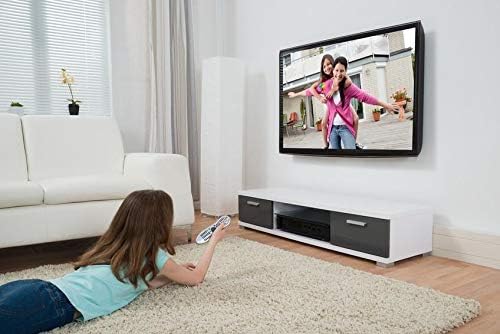
Image 4.1: Technical drawing showing key dimensions and VESA mounting points.
5. Configurare și instalare
Instrumente necesare (nu sunt incluse): Pencil, Stud Finder (for wood studs), Drill, Drill Bits (appropriate for wall type), Level, Phillips Head Screwdriver, Socket Wrench.
Step 1: Attach TV Brackets to Your TV
- Așezați cu grijă televizorul cu fața în jos pe o suprafață moale și curată pentru a preveni deteriorarea ecranului.
- Identificați găurile de montare VESA de pe spatele televizorului.
- Select the appropriate screws, washers, and spacers from the provided hardware kit that fit your TV's mounting holes. Ensure the screws are not too long, which could damage internal components, or too short, which would not provide a secure fit.
- Attach the VESA plate of the wall mount to the back of your TV using the selected hardware. Tighten securely, but do not overtighten.

Image 5.1: The VESA plate of the mount, which attaches to the TV.
Step 2: Mark Drilling Holes on the Wall
- Determine the desired height for your TV. Consider viewing angles and furniture placement.
- Hold the wall plate portion of the mount against the wall at the desired height. Use a level to ensure it is perfectly horizontal.
- Mark the drilling locations through the holes on the wall plate using a pencil.
- For wood stud installation, use a stud finder to locate the center of a wood stud and ensure at least two mounting holes align with the stud.
Step 3: Drill Holes and Install Wall Plate
- Drill pilot holes at the marked locations. The drill bit size will depend on your wall type and the anchors/screws provided.
- For concrete/brick walls, insert the plastic wall anchors into the drilled holes. Tap gently with a hammer until flush with the wall surface.
- Position the wall plate over the drilled holes and secure it to the wall using the provided screws and washers. Tighten all screws firmly to ensure the wall plate is securely fastened.
Pasul 4: Montați televizorul pe placa de perete
- With assistance, carefully lift the TV (with the VESA plate attached) and align the VESA plate with the arm extending from the wall plate.
- Slide the VESA plate onto the arm until it clicks into place or can be secured with the provided locking mechanism (if applicable).
- Double-check that the TV is securely attached to the wall mount before releasing it.
6. Operarea monturii
This wall mount allows for tilting adjustments to achieve your preferred viewunghiul de ing.
- Înclinare: The mount allows for a tilt range of +/- 15 degrees. To adjust the tilt, gently push or pull the top or bottom of your TV to the desired angle. The friction mechanism will hold the TV in place.
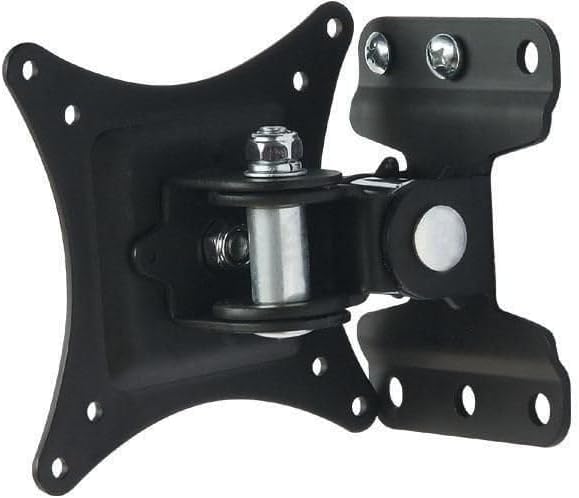
Image 6.1: Diagram illustrating the +/- 15 degree tilt capability of the mount.
7. Întreținere
- curatenie: Ștergeți suportul cu o cârpă moale și uscată. Nu utilizați substanțe de curățare abrazive sau solvenți.
- Verificări periodice: Regularly inspect the mount and all fasteners to ensure they remain tight and secure. If any components appear loose or damaged, tighten them or replace them immediately.
- Lubrifiere: The articulating joints are designed for smooth movement. No lubrication is typically required.
8. Depanare
- Televizorul nu este orizontal: Ensure the wall plate was installed level. If not, remove the TV, loosen the wall plate screws, adjust with a level, and re-tighten.
- Montura se simte slăbită: Check all screws securing the mount to the wall and the TV to the mount. Tighten any loose fasteners. Do not overtighten.
- Dificultate la înclinarea televizorului: Ensure no cables are obstructing the movement. The tilt mechanism is designed to hold position, so some resistance is normal. If it's excessively stiff, check for any debris in the joint.
- Șuruburile de montare nu se potrivesc cu televizorul: Refer to your TV's manual for correct VESA screw sizes. The provided hardware kit includes common sizes, but some TVs may require specific screws.
9. Informații despre garanție
This Techly Tilting Wall Mount comes with a 2 an garanție de la data achiziției. Această garanție acoperă defectele de fabricație și defectele materialelor în condiții normale de utilizare. Nu acoperă daunele cauzate de instalare necorespunzătoare, utilizare necorespunzătoare, accidente sau modificări neautorizate. Vă rugăm să păstrați dovada achiziției pentru reclamații în garanție.
10. Asistență pentru clienți
For technical assistance, missing parts, or warranty inquiries, please contact Techly customer support. Refer to the product packaging or the official Techly website pentru cele mai recente informații de contact.