
1. Introducere
This manual provides essential information for the safe and efficient operation of your Technaxx Wireless CarPlay & Android Car Monitor TX-361. Please read this manual thoroughly before using the device and retain it for future reference. The TX-361 is designed to integrate modern smartphone connectivity, including Apple CarPlay and Android Auto, into your vehicle without requiring a complex car radio replacement. It also features an integrated DAB digital radio for enhanced audio experience.
2. Informații de siguranță
- Utilizați întotdeauna dispozitivul în mod responsabil și în conformitate cu legile locale privind traficul. Condusul distras poate duce la accidente.
- Nu încercați să dezasamblați sau să modificați dispozitivul. Acest lucru poate anula garanția și poate prezenta riscuri de siguranță.
- Păstrați dispozitivul departe de temperaturi extreme, lumina directă a soarelui și umiditate.
- Asigurați-vă că dispozitivul este montat în siguranță și nu vă obstrucționează view sau interferează cu comenzile vehiculului.
- Folosiți doar cablul de alimentare și accesoriile furnizate.
- If the device malfunctions, disconnect it from the power source and contact customer support.
3. Conținutul pachetului
Verificați dacă toate articolele enumerate mai jos sunt incluse în pachetul dumneavoastră:
- DAB 7-inch CarPlay with Touch Screen TX-361
- Power Supply (USB-A to USB-C, 1.5m cable)
- AUX Cable (1m)
- Antena DAB
- Holder (Mounting Bracket)
- Manual de utilizare
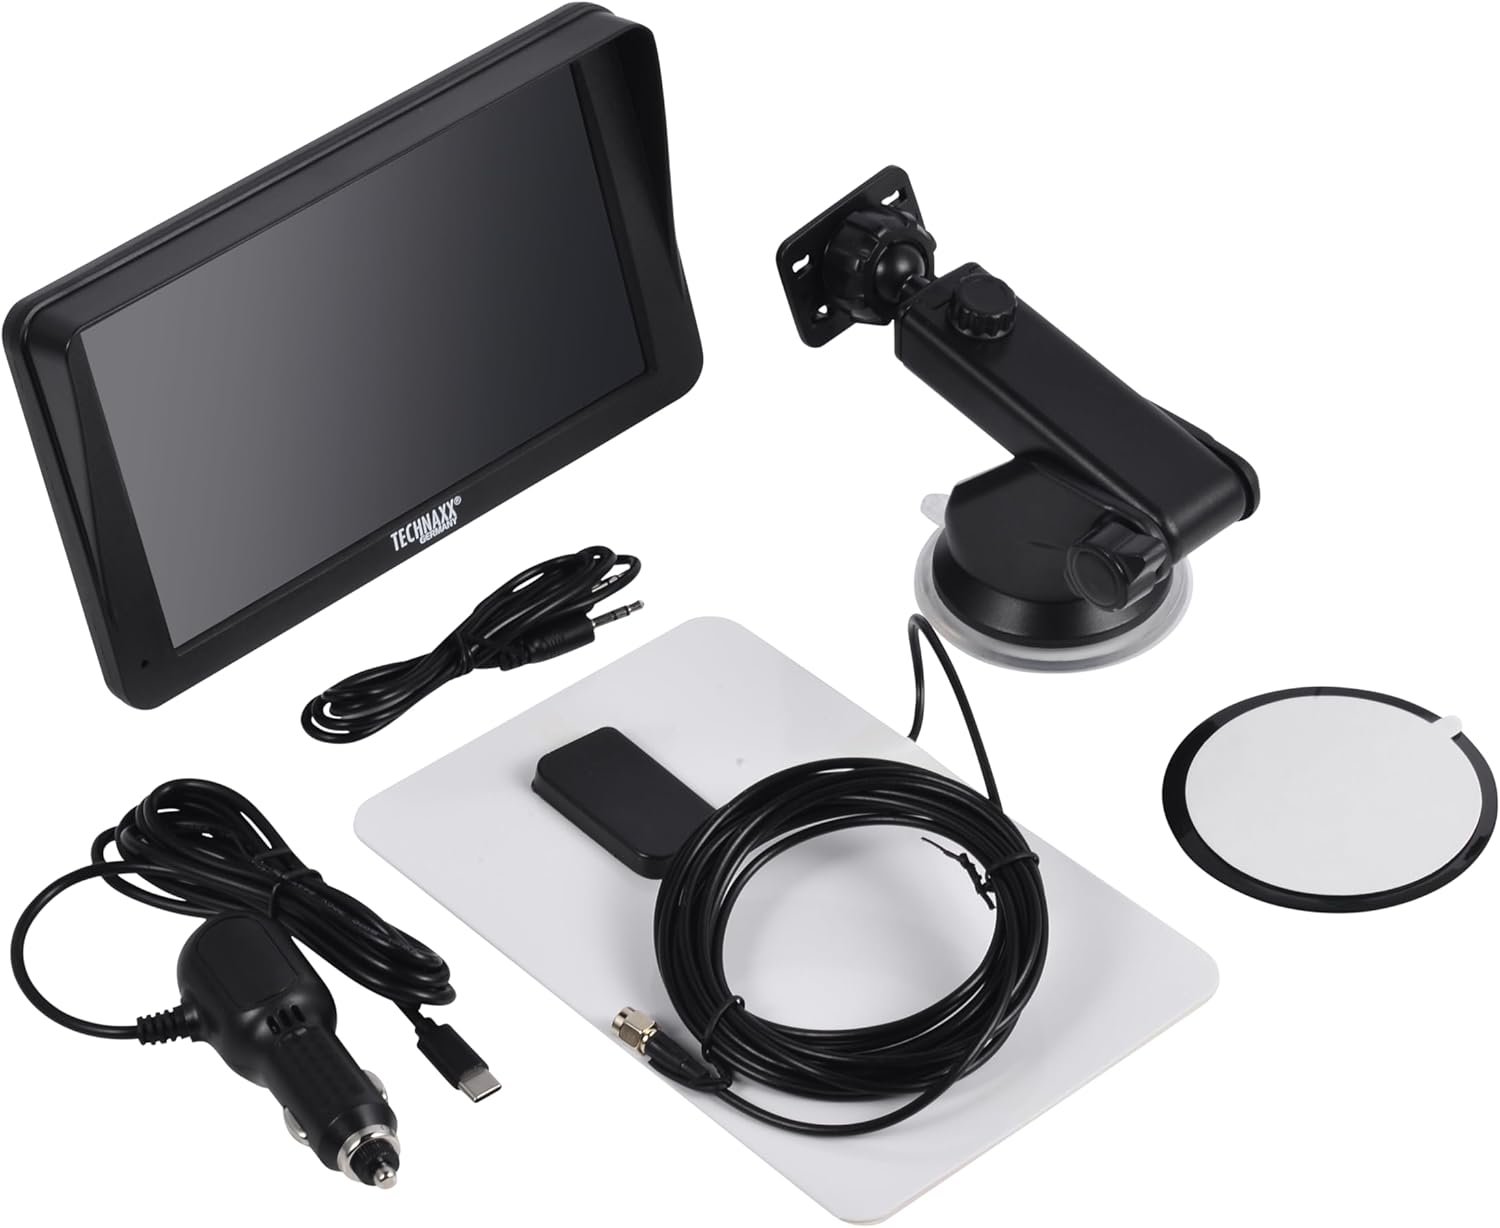
Image: All components included in the Technaxx TX-361 package, neatly laid out.
4. Produs terminatview
Familiarize yourself with the main components of your TX-361 monitor.
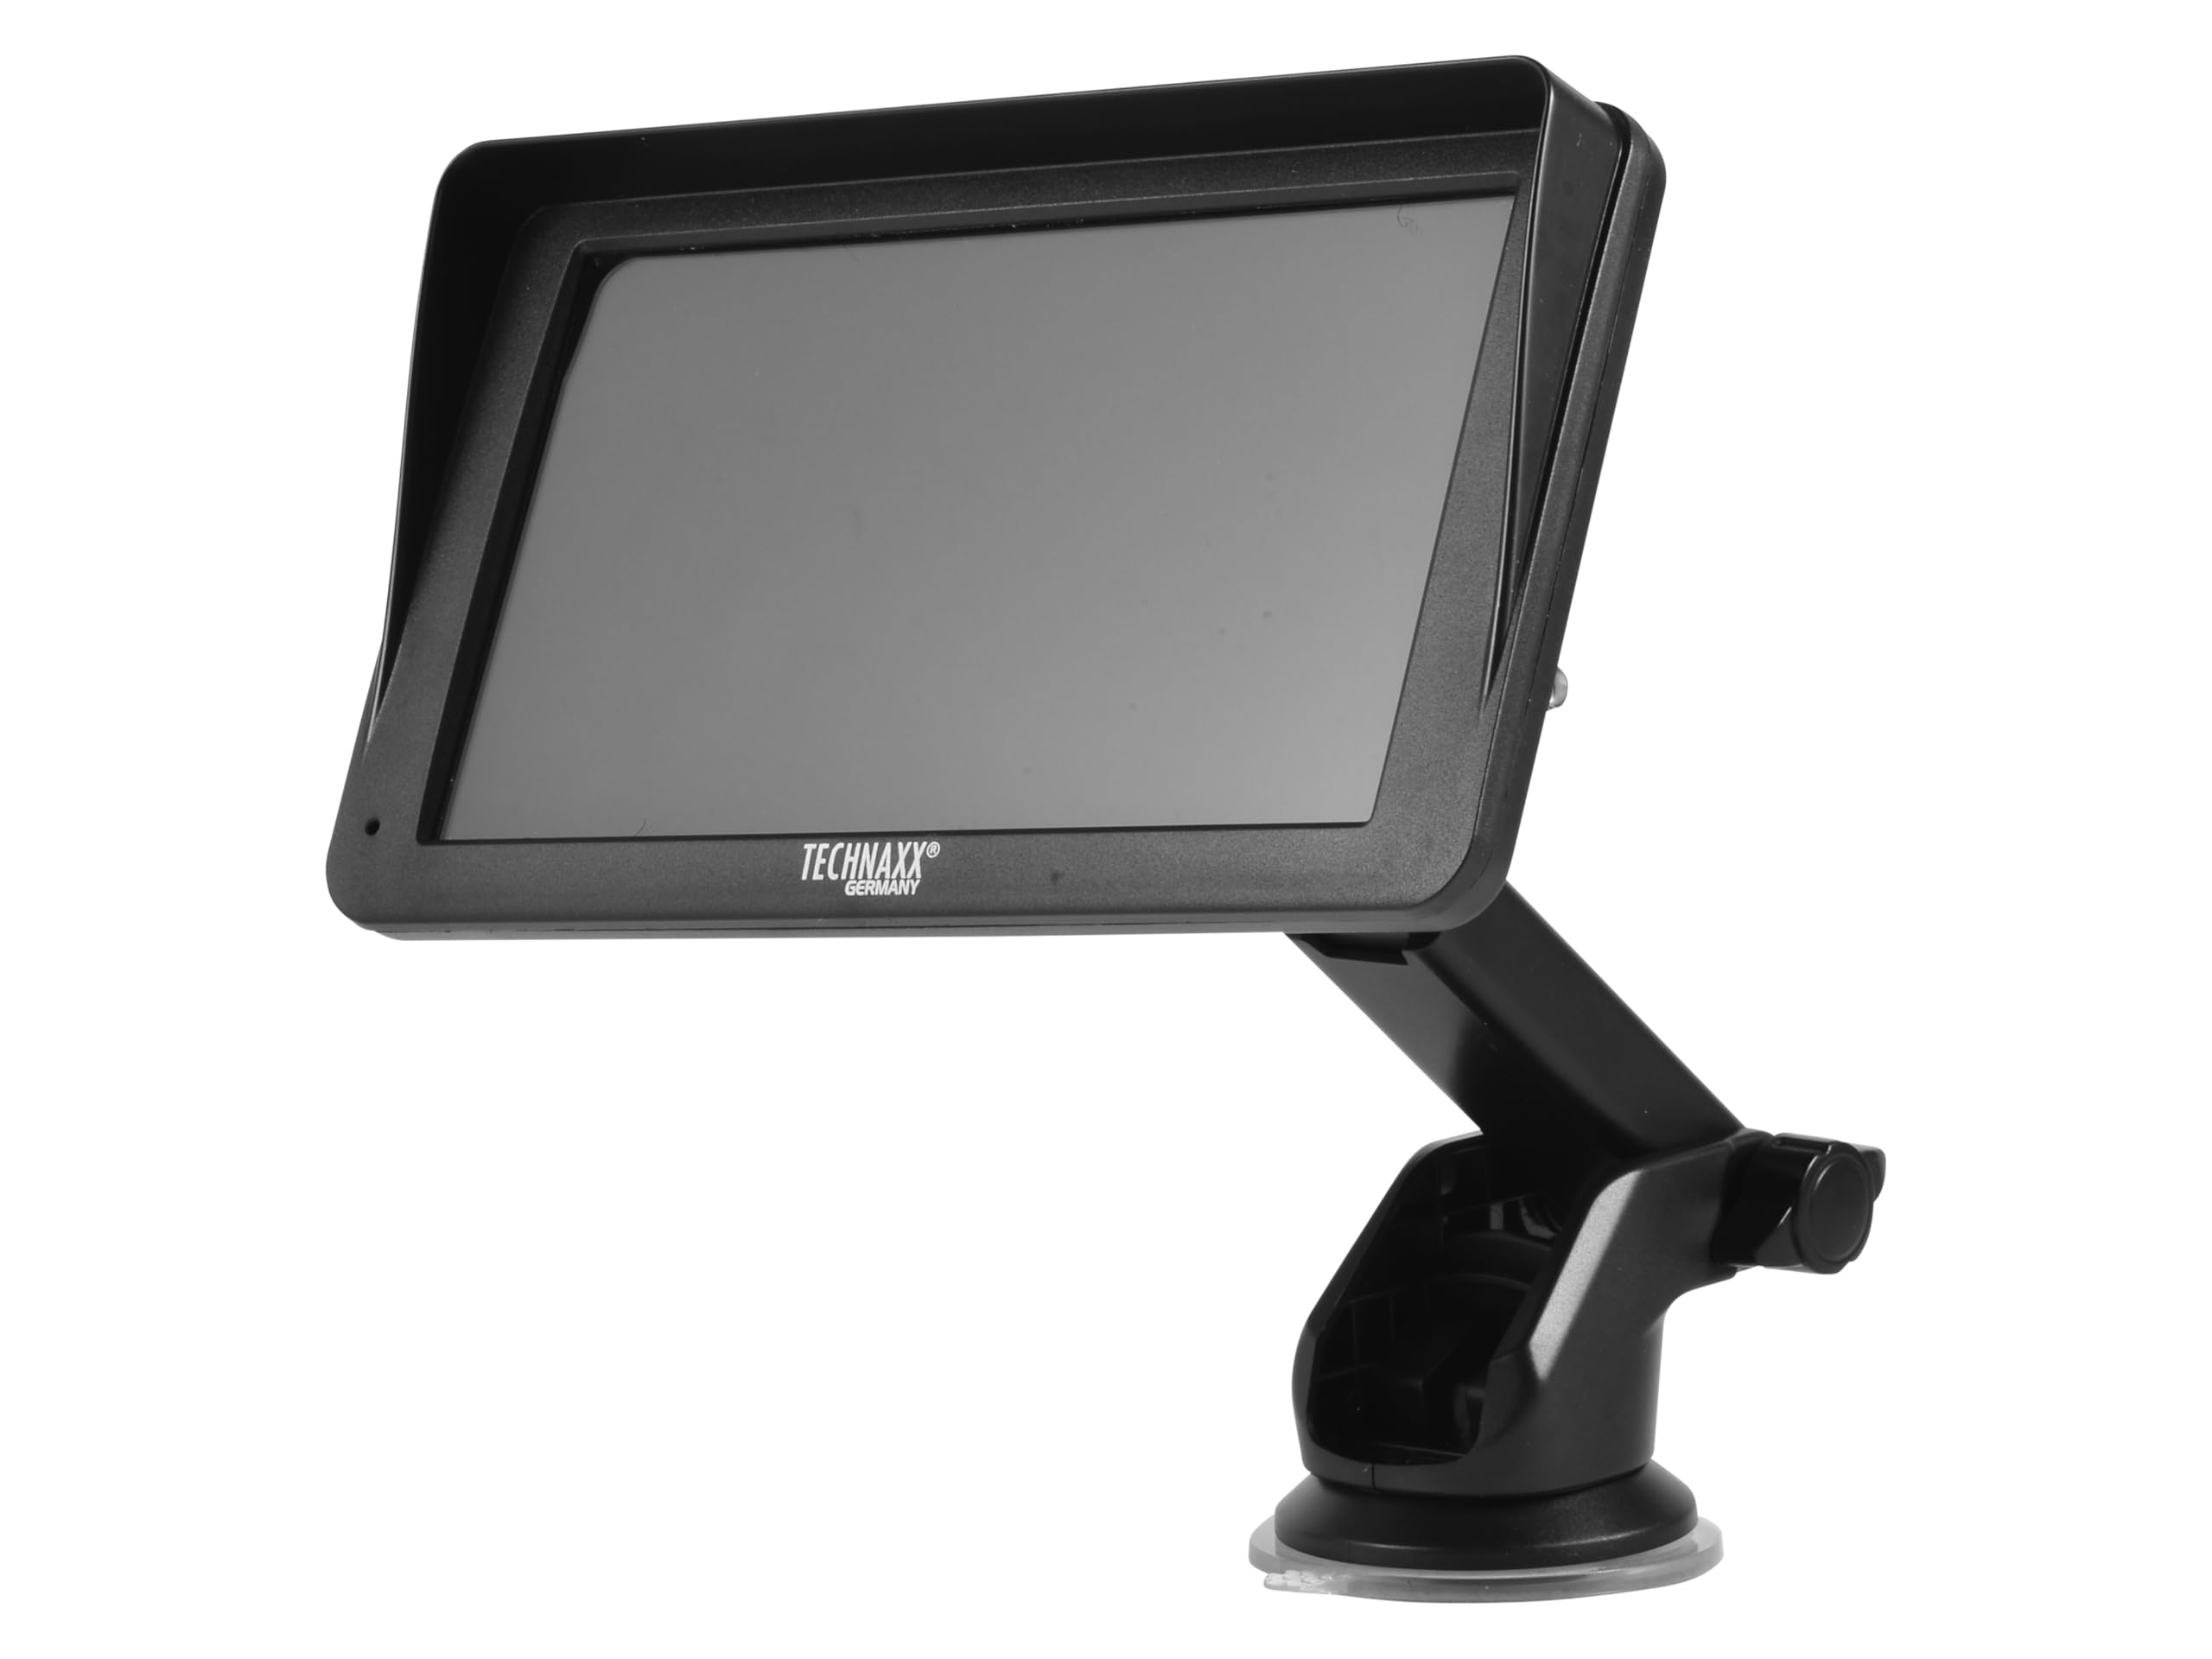
Imagine: față view of the TX-361 monitor with its 7-inch display and 'TECHN AXX GERMANY' branding, attached to the adjustable mounting stand.

Imagine: Spate view of the TX-361 monitor, highlighting the ventilation grilles and the attachment point for the mounting bracket.

Imagine: Detaliată view of the right side of the TX-361 monitor, showing the power button, reset button, USB-C power input, AUX output, and USB-A port.
4.1. Componentele dispozitivului
- Ecran tactil capacitiv de 7 inci: Main display for all functions.
- Buton de alimentare: Located on the top right side.
- Buton de resetare: Small pinhole button for system reset.
- Port USB-C: Pentru puterea de intrare.
- Ieșire AUX: 3.5mm jack for wired audio transmission.
- Port USB-A: For media playback or charging external devices.
- Intrare antenă DAB: Connector for the external DAB antenna.
- Difuzor integrat: Pentru redare audio directă.
5. Configurare
5.1. Montarea dispozitivului
The TX-361 can be mounted on your vehicle's windscreen or dashboard using the provided holder.
- Attach the monitor to the mounting bracket.
- For Windscreen Mounting: Clean the desired area on the windscreen. Press the suction cup firmly against the glass and engage the lever to secure it.
- For Dashboard Mounting: Clean the desired area on the dashboard. If necessary, use the adhesive disc provided for a more secure attachment point for the suction cup. Press the suction cup firmly and engage the lever.
- Reglați unghiul monitorului pentru a fi optim viewfără a vă obstrucționa condusul view.

Image: The TX-361 monitor securely mounted on a car dashboard, showing its position relative to the driver's view.

Image: The TX-361 monitor mounted on a car windscreen, demonstrating an alternative placement option.
5.2. Conexiune la alimentare
- Connect the USB-C end of the power cable to the USB-C port on the monitor.
- Plug the USB-A end of the power cable into the provided 12V/24V cigarette lighter adapter.
- Insert the cigarette lighter adapter into your vehicle's 12V/24V power socket. The device will power on automatically or can be turned on using the power button.
5.3. DAB Antenna Connection
For optimal DAB radio reception, connect the included DAB antenna:
- Connect the DAB antenna cable to the dedicated DAB antenna input on the monitor.
- Mount the DAB antenna on your windscreen or another suitable location, ensuring it has clear line of sight for best signal reception.
6. Instrucțiuni de utilizare
6.1. Pornire/Oprire
- Pornire: The device typically powers on automatically when connected to the vehicle's power. If not, press and hold the power button on the top right side.
- Oprire: Press and hold the power button until the device shuts down. A short press will turn the screen off/on.
6.2. Initial Setup and Smartphone Connection
The TX-361 supports wireless Apple CarPlay and Android Auto via Wi-Fi and Bluetooth 5.0.
- Asigurați-vă că sunt activate Wi-Fi-ul și Bluetooth-ul smartphone-ului.
- On the TX-361 monitor, navigate to the CarPlay or Android Auto section.
- The monitor will display a Bluetooth name. On your smartphone, search for and connect to this Bluetooth device.
- Once connected via Bluetooth, the device will prompt you to enable Wi-Fi for CarPlay/Android Auto functionality. Confirm the connection on your phone.
- After successful pairing, Apple CarPlay or Android Auto will launch automatically on the monitor.
6.3. Operarea ecranului tactil
The 7-inch capacitive touchscreen allows for intuitive control:
- Robinet: Selectați elemente sau confirmați acțiuni.
- Beţivan: Navigate through menus or lists.
- Ciupire pentru zoom: (Where supported, e.g., in navigation apps) Adjust map zoom levels.
6.4. DAB Digital Radio
To use the integrated DAB digital radio:
- Ensure the DAB antenna is properly connected.
- From the main menu, select the 'DAB Radio' option.
- The device will automatically scan for available DAB stations.
- Selectați stația dorită din listă.
6.5. Radio FM
For traditional FM radio reception:
- From the main menu, select the 'FM Radio' option.
- Folosește comenzile de pe ecran pentru a scana posturi sau pentru a regla manual o frecvență.
6.6. Opțiuni de ieșire audio
The TX-361 offers several ways to transmit audio to your vehicle's sound system:
- Difuzor integrat: Audio will play directly from the monitor's built-in speaker.
- Cablu AUX: Connect the provided 3.5mm AUX cable from the monitor's AUX output to your car's AUX input. Select 'AUX' as the input source on your car radio.
- Transmisie FM: Select an unused FM frequency on the TX-361 and tune your car radio to the same frequency. Audio will be transmitted wirelessly to your car's speakers.
7. Întreținere
- curatenie: Folosiți o lavetă moale și uscată pentru a curăța ecranul și exteriorul dispozitivului. Nu utilizați substanțe de curățare abrazive sau solvenți.
- Depozitare: Dacă depozitați dispozitivul pentru o perioadă lungă de timp, deconectați-l de la priză și depozitați-l într-un loc răcoros și uscat.
- Actualizări de software: Verificați periodic producătorul webpentru orice actualizări de firmware disponibile, pentru a asigura performanțe optime.
8. Depanare
| Problemă | Soluție posibilă |
|---|---|
| Dispozitivul nu pornește. |
|
| Cannot connect to CarPlay/Android Auto. |
|
| Poor DAB/FM radio reception. |
|
| Fără ieșire audio. |
|
9. Specificații
| Caracteristică | Caietul de sarcini |
|---|---|
| Numărul de model | 5361 |
| Afişa | Ecran tactil capacitiv de 7 inchi |
| Tehnologia de conectivitate | Wi-Fi (Dual-band 2.4 / 5 GHz), Bluetooth 5.0 |
| Caracteristici speciale | Wireless CarPlay & Android Auto, DAB Digital Radio, FM Radio, Touchscreen Display |
| Gama de frecvențe DAB | Band III: 174-240 MHz |
| Ieșire audio | AUX, FM Transmission, Integrated Speaker |
| Alimentare electrică | 12V/24V via Cigarette Lighter |
| Dimensiuni produs (D x L x H) | 18.8D x 10.8W x 3.5H centimetri |
| Greutatea articolului | 0.58 livre (aproximativ 263 grame) |
10. Garanție și asistență
Technaxx products are covered by a manufacturer's warranty. For detailed warranty information, please refer to the warranty card included with your product or visit the official Technaxx website. For technical support, troubleshooting assistance, or service inquiries, please contact Technaxx customer support through their official channels.
You can often find additional resources, FAQs, and contact information on the Technaxx official website-ul.